Reverse searing is a technique that promises unbelievably tender, juicy, and perfectly crusted steak, all kissed with the smoky embrace of glowing coals and open fire.
Why reverse sear, you ask? Because science (and deliciousness)!
Traditional searing will often create a beautiful crust but a less-than-perfect interior – either overcooked and dry, or undercooked with uneven doneness. The reverse sear flips this on its head. Instead of blasting your steak with high heat upfront, we gently bring it up to temperature first, then deliver that magnificent, flavour-packed crust at the end.
Here’s the magic:
Even Cooking: The low and slow heat phase allows the steak to cook much more evenly from edge to edge.
Juice Retention: By gradually heating, the muscle fibres relax slowly, minimizing moisture loss.
Smoky Goodness: Infusing steak with a smoky taste and aroma just hits different and simply can’t be replicated using the ol’ Gorge Foreman Grill or even a gas barbie. In the first article, I mentioned cooking with open fire and smoke being deeply infused in our collective DNA, yeah that applies perfectly here.
The Maillard Reaction: The final, sear at high heat creates an irresistible, deeply browned crust. This is the Maillard Reaction in full effect (science!).
The Maillard Reaction is a chemical process that occurs when proteins and sugars in food are exposed to the right amount of heat. This reaction is responsible for creating the delicious brown crust on a seared steak, toasted bread, and even roasted coffee beans. It is not caramelisation per say, which involves only sugar, but a far more intricate scientific process that produces many hundreds of new flavour combinations and aromas. look… smell… taste… a sensory trifecta for any red blooded steak connoisseur!
Let’s Get Fired Up:
You’ll need a good cut of steak – think a thick ribeye, tomahawk, t-bone, New York cut rump or porterhouse. Steak of around 38mm (1.5″) is a good place to start your reverse sear journey.
I like a challenge and over that past few years have moved on to tasty thinner cuts like bavette, flat iron and hangers with great success but need to watch the process because you can go from hero-to-zero quickly! The reverse searing method also works just as well on succulent lamb racks and for your hunters reading along, venison back straps are epic!
Phase 1: Slow ‘n’ Low…That is The Tempo! (who doesn’t love a good Beastie Boys reference?)
Prep Your Steak: Bring your steak up to room temperature (30 or so minutes should do it). Season with coarse salt and freshly ground black pepper to taste.
Build Your Fire: You want a two-zone fire (aka indirect & direct). Pile your lit coals to one side of your barbecue grill, leaving the other side empty. This creates a hot zone and a cooler, zone. Add some smoking wood of choice, but Pohutukawa and White Oak are two of my favs and pair well to beef. NB: Consider the addition of smoke to food to be like “salt and pepper”, the goal is to be able to taste it presence but not over power the natural flavours of epic kiwi beef!
Indirect Cooking: Place your seasoned steak on the cooler, indirect side of the grill, away from the direct flames. Close the lid.
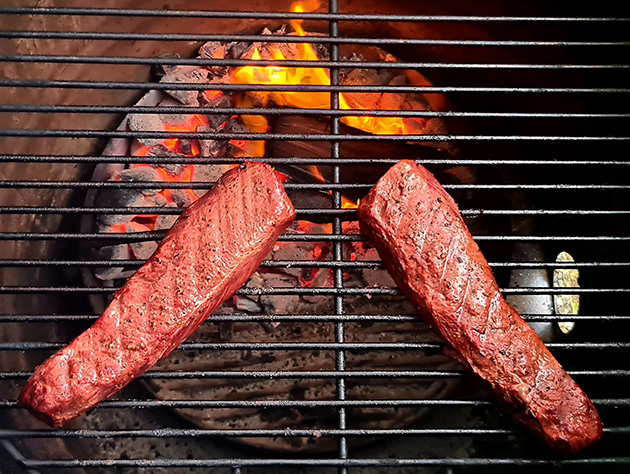
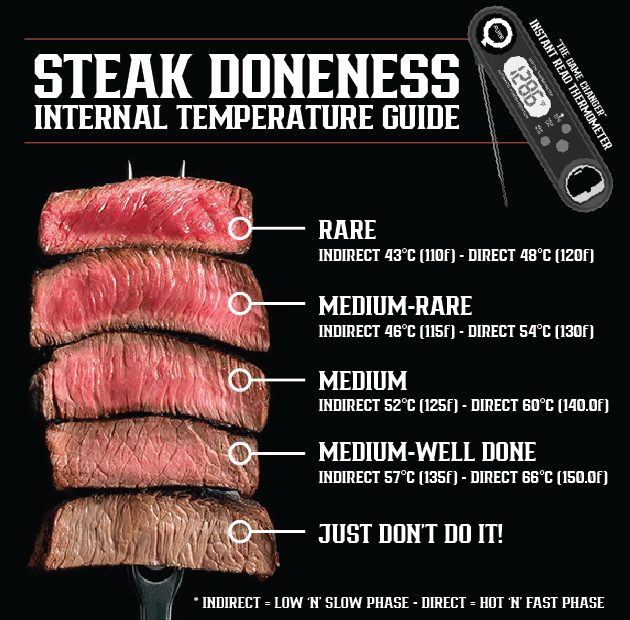
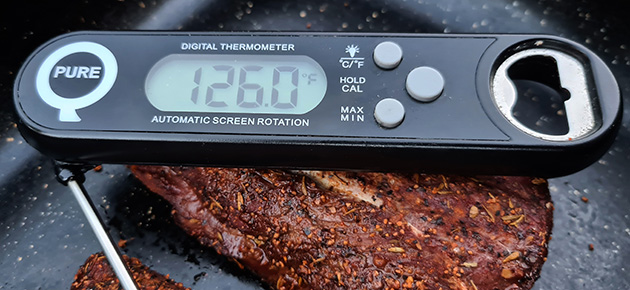
Monitor & Flip: Insert a reliable instant read thermometer probe (the PureQ Solo is a very cost effective option) into the thickest part of the steak. You’re aiming for about 10-15°F (see chart attached for conversions to Celsius) below your desired final internal temperature). For medium-rare, this means around removing from the grill at around the 115°F mark. Flip the steak every 10-15 minutes for even cooking. This low ‘n’ slow cook phase can take anywhere from 30 minutes to an hour, depending on thickness and grill temperature, so keep checking!
Phase 2: The Searing Finale…Bring the Heat!
Once your steak hits that target internal temperature (less around 10°F – see chart above):
Rest: Remove the steak from the indirect heat and place it in an oven tray, brush on some melted butter and loosely cover with tin foil and set aside for around 10mins. This brief rest helps the juices settle before the final sear. While the steak is resting, get your coals screaming hot! Add more coals if needed and open your vents to maximize airflow. You want glowing, angry coals. Think nuclear reactor hot!
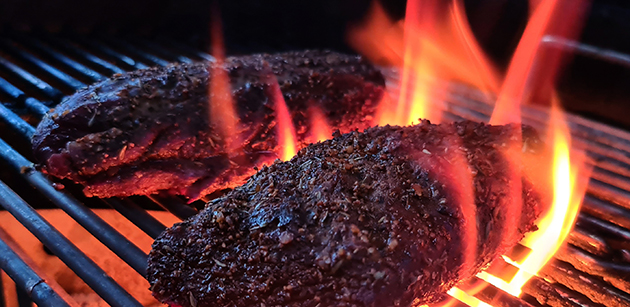
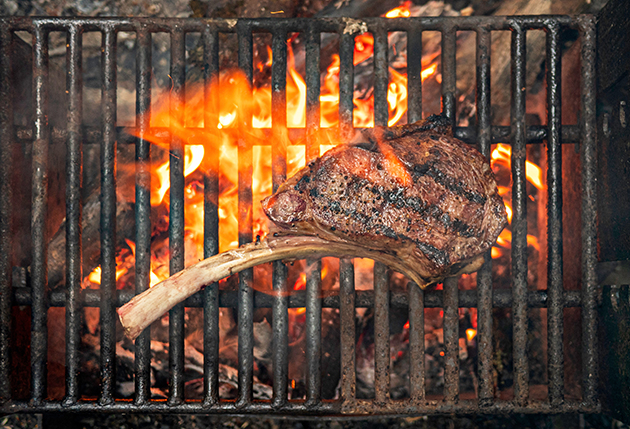
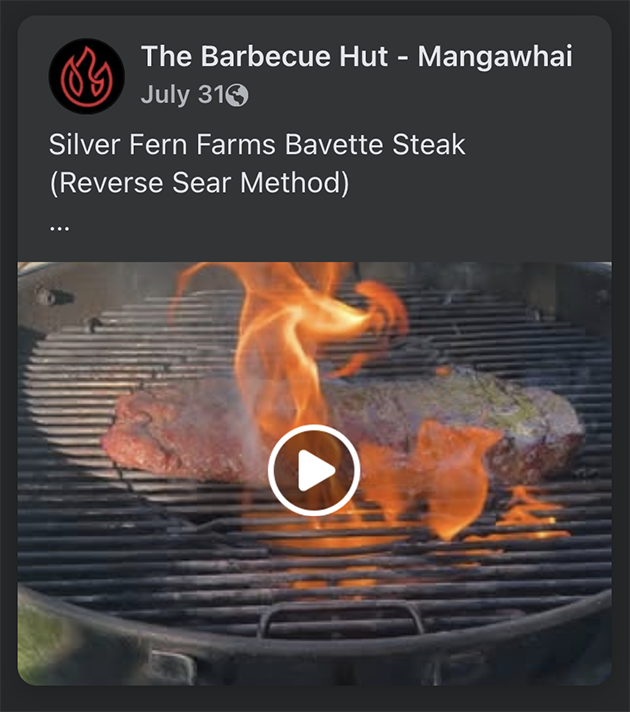
Direct Sear: Place the steak directly over the hottest part of your coals. Flames should climb up over and around your steak – this is where the Maillard Reaction that I mentioned earlier is taking place – you are doing the science! We’re talking 60-90 seconds per side, maybe even less, depending on how hot your coals are. You’re looking for that deep, dark, crusty bark. Use tongs to stand the steak upright to sear the edges too especially if there is some tasty “fat-cap” present! (A decent pair of heat-proof gloves helps during this hand-to-fire-combat phase).
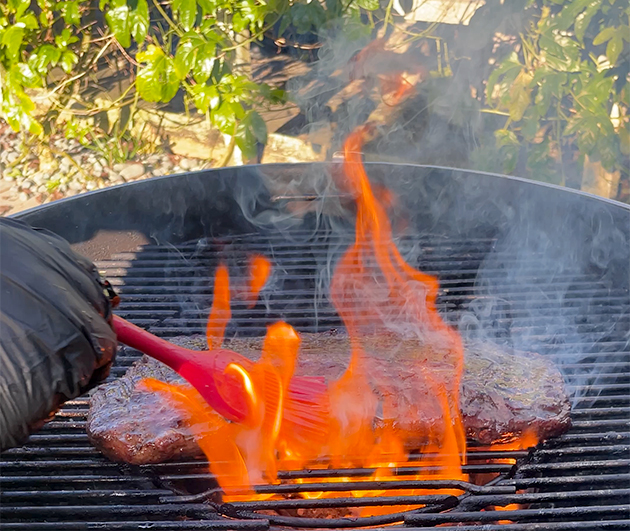
The Butter Baste: For an extra layer of flavour, during the last 30 seconds of searing on each side, brush on some melted butter (garlic and herb butter is a bangin’ option!) directly on the steak. This will create some good flamage and adds richness and helps develop an even more incredible crust.
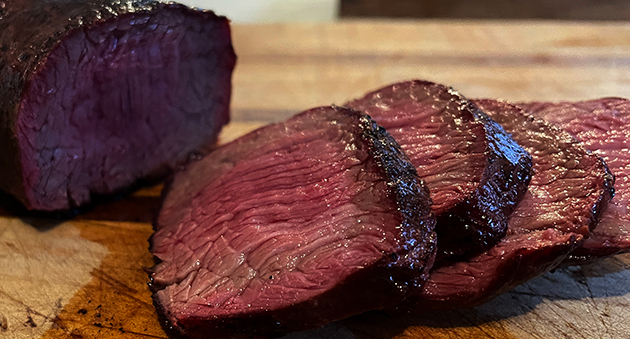
Slice Against the Grain: Remove from the grill, it’s time for the grand reveal. Using a sharp knife, slice the steak against the grain. This shortens the muscle fibres, making each bite incredibly tender.
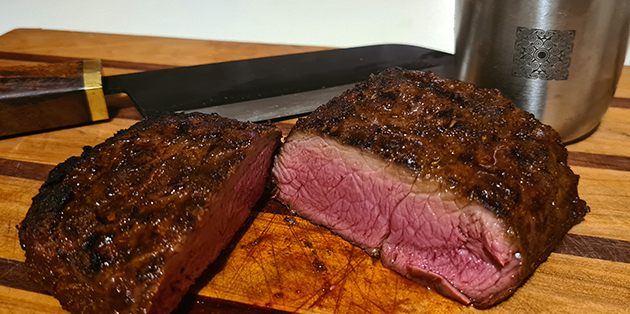
And that is it folks… Better than restaurant quality steak every time and all done in the comfort of your own back yard!
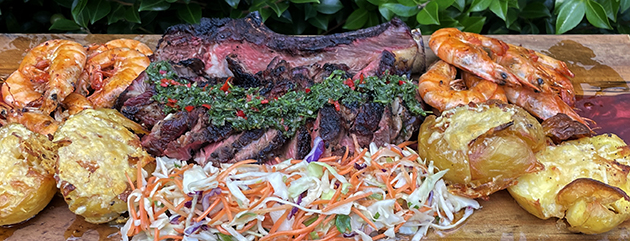
We like to serve our sliced steak with a blue cheese sauce or fresh chimichurri, a fresh garden salad, tallow roasted spuds, a crusty garlic bread and a bright and playful pinot noir!
Until next time – keep the fires lit AF!

Latest posts by Kerren Packer (see all)
- Fry Bread: The Ultimate BBQ Sidekick - February 12, 2026
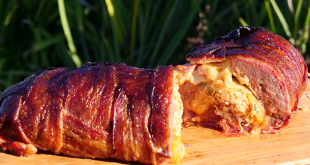
- Smoking A “Fatty” Together… - September 24, 2025
- The Meat Swadl: It’s a thermal powerhouse - September 4, 2025
- Reverse Sear… Steak Perfection! (every time) - September 1, 2025